STEP-BY-STEP INSTRUCTIONS
Safety First!
Always practice safety for your patients and staff. Wear protective gloves, smock and eye protection. Have patient remove jewelry before making forms. Always follow directions!
Comfort Your Patient!
Tell your patient they must lay still for 15 minutes while the foam rises around them. It will feel comfortably warm as it rises and hardens in the position they will need to hold for treatment.
The CNRFA foam kit includes a polybag that measures 10” x 23”, large enough to extend from the top of the patient’s head to their shoulders.
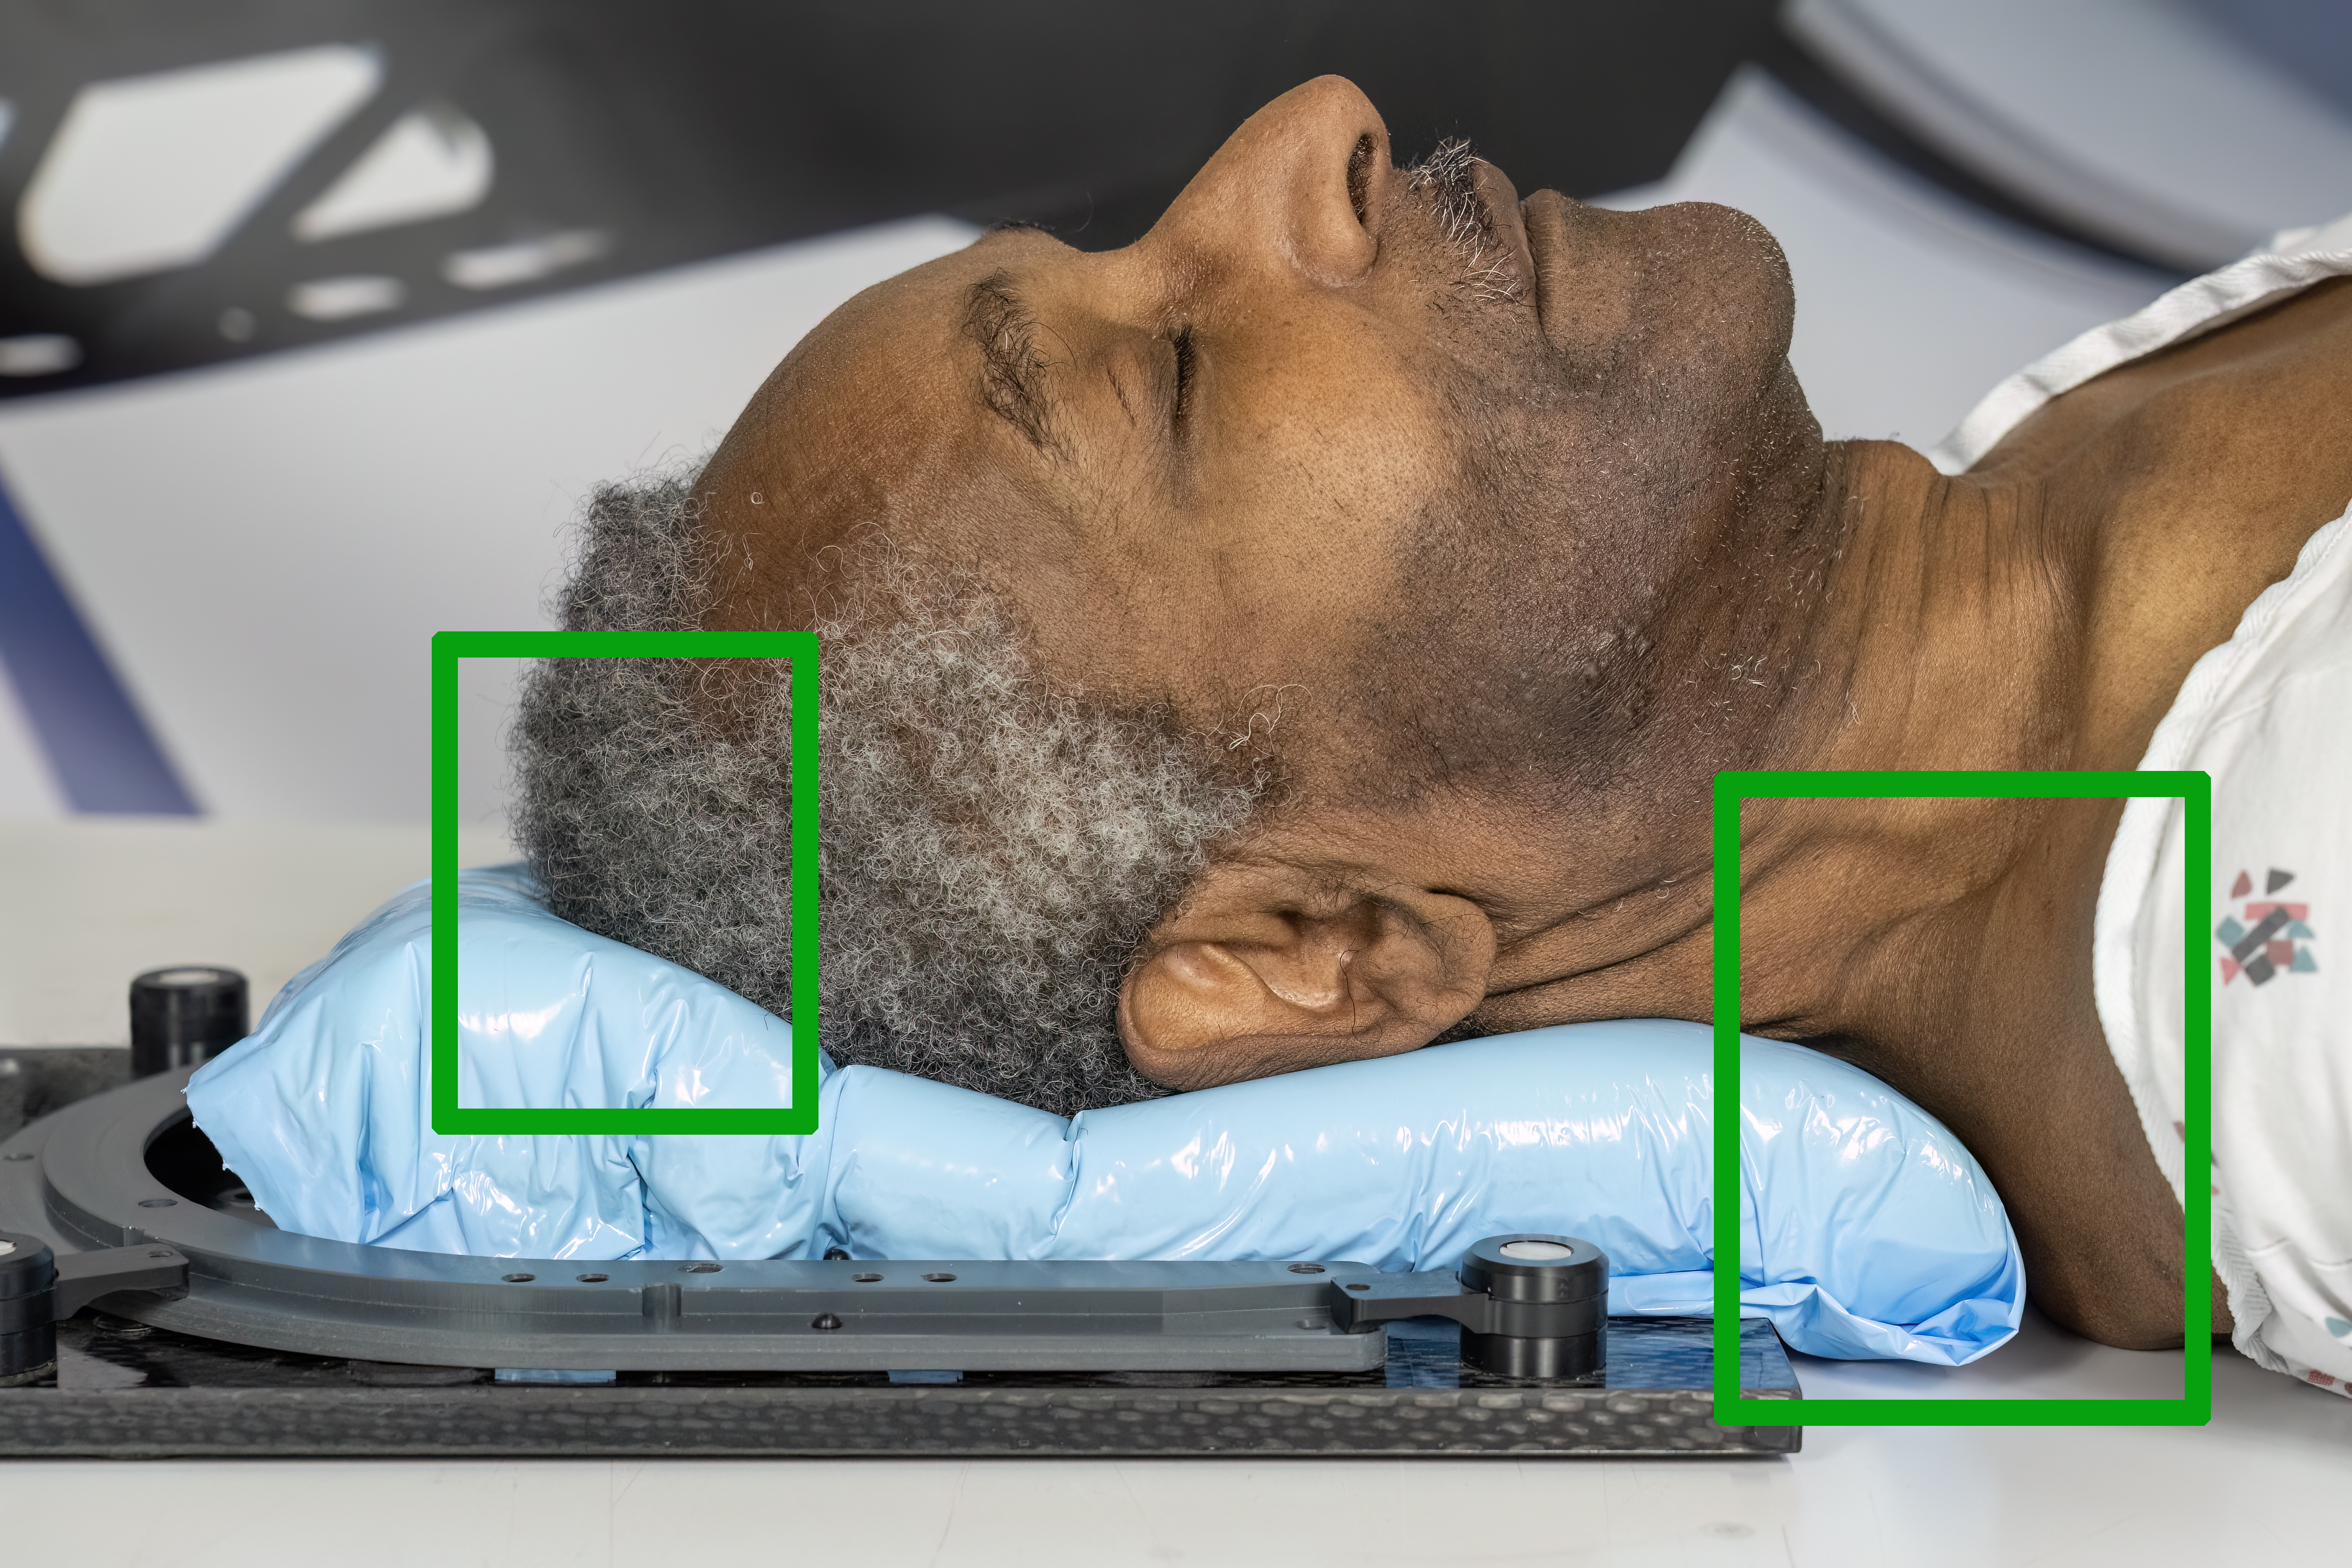
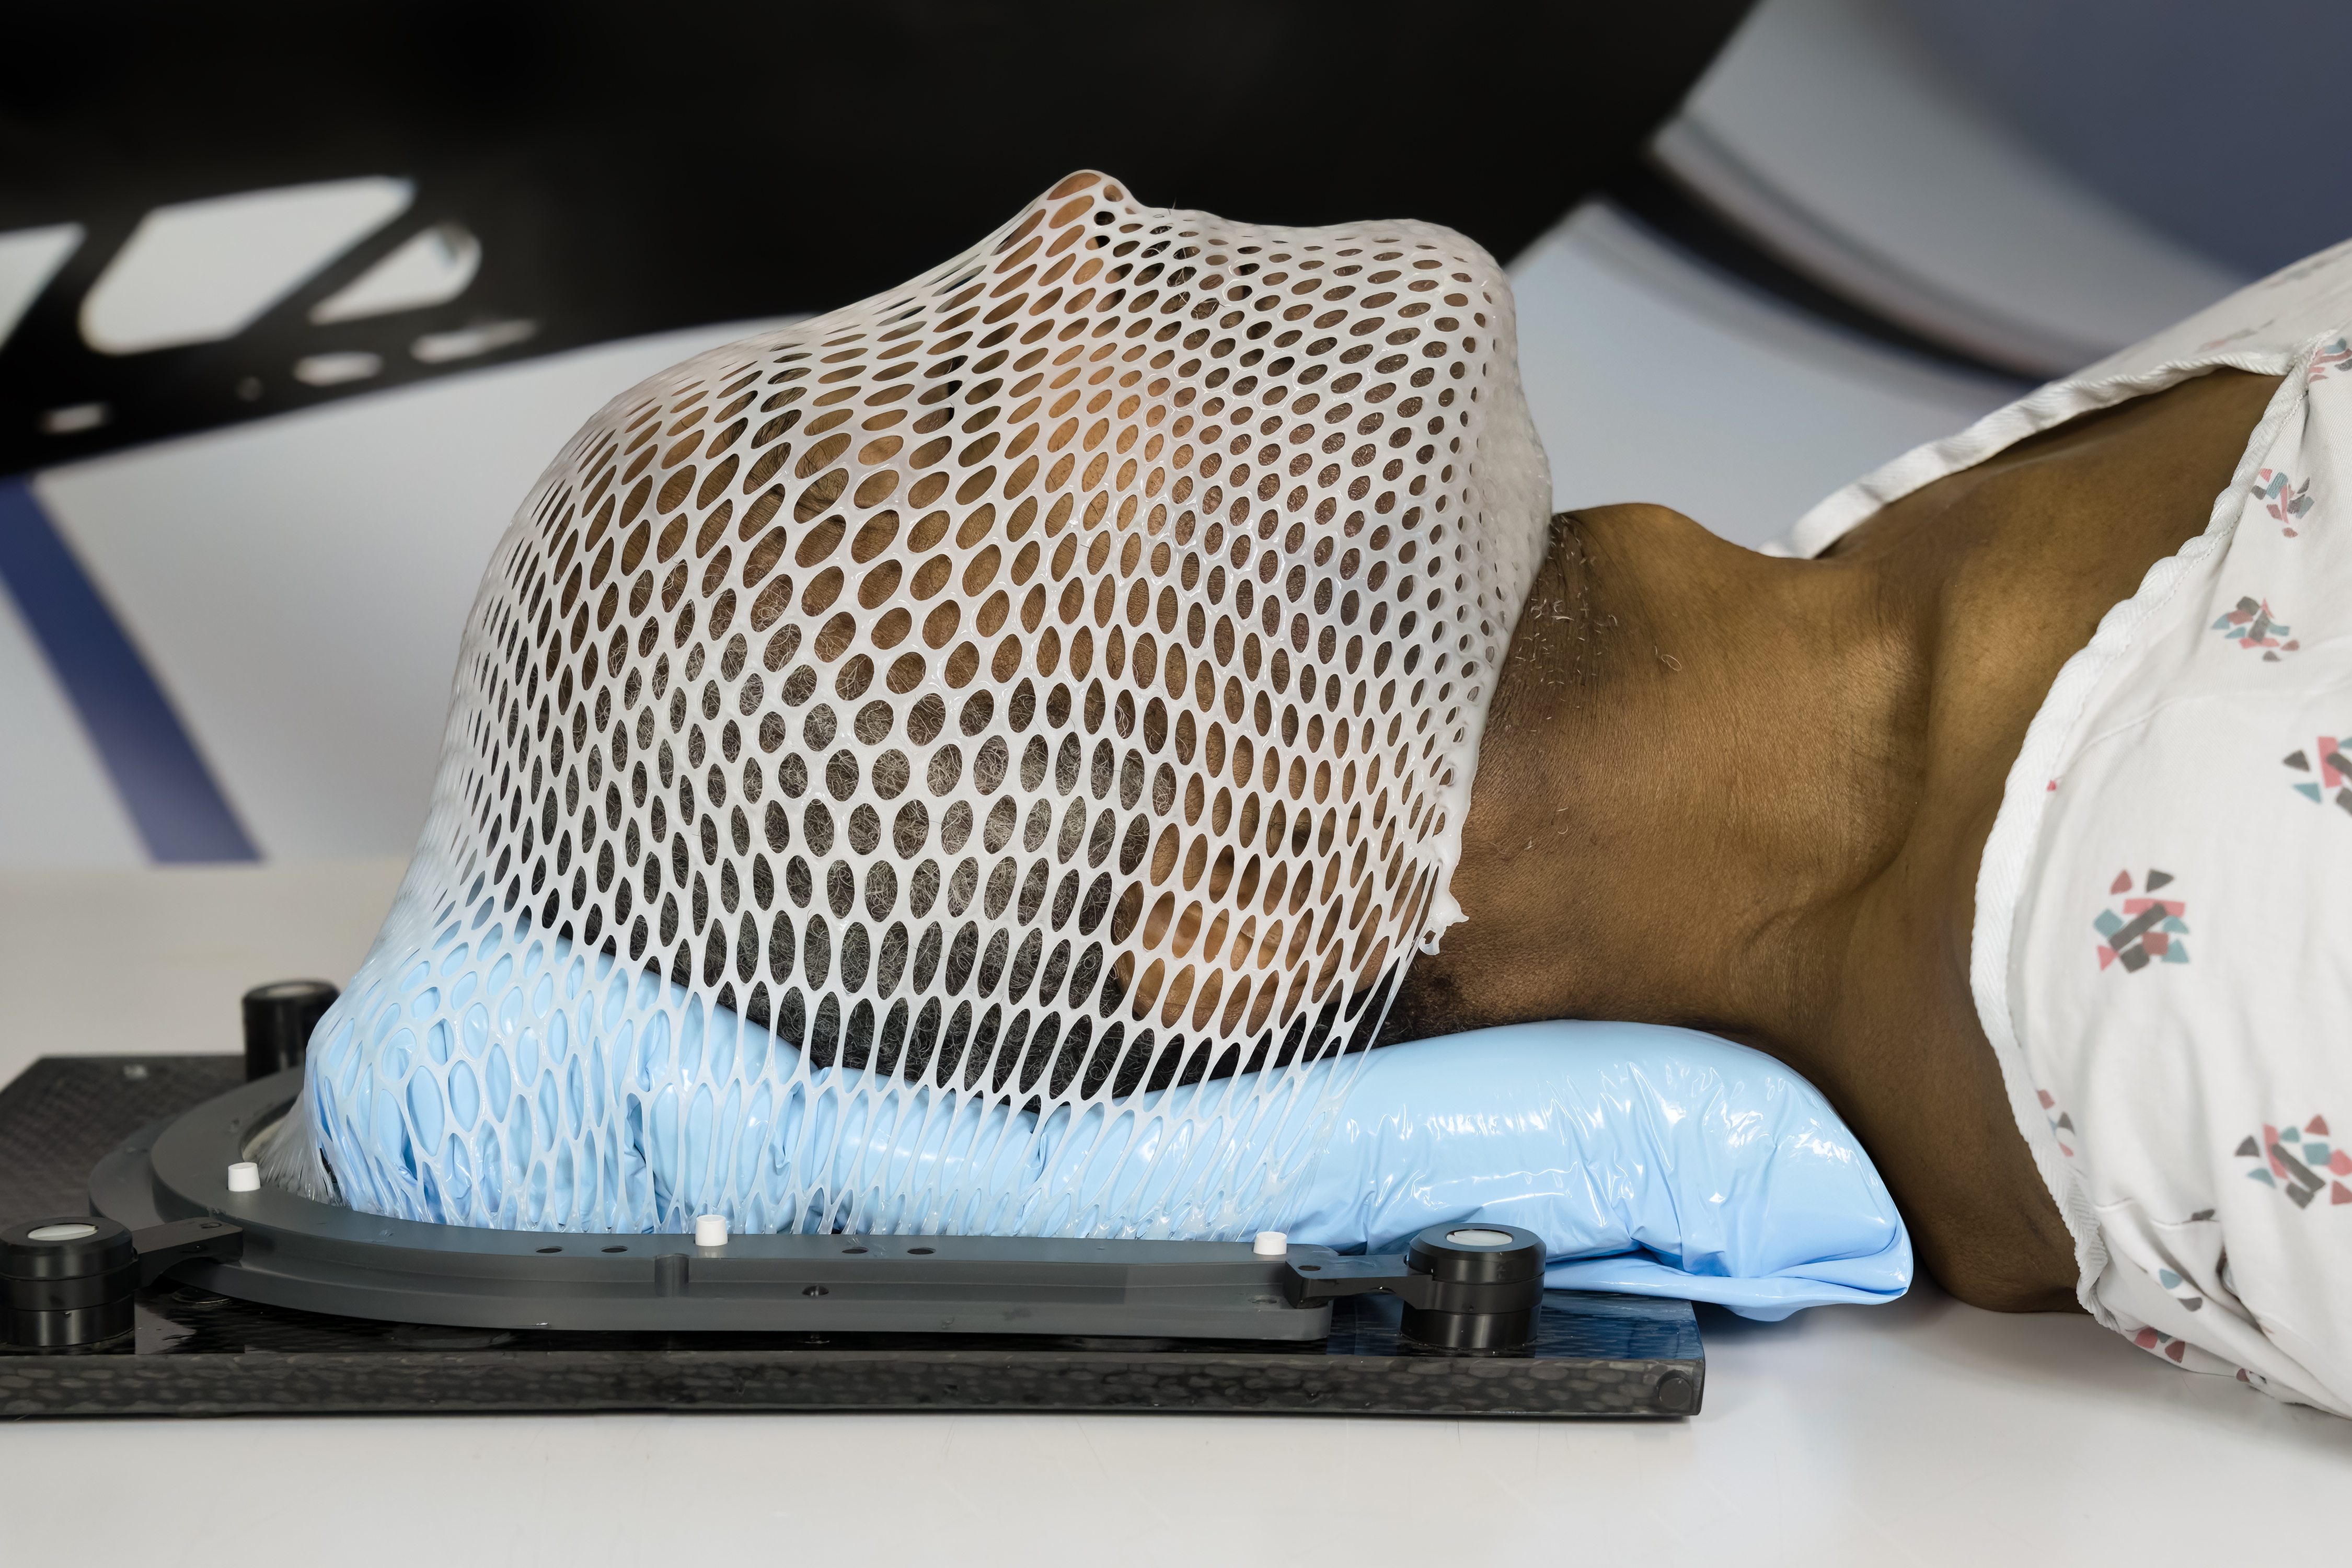
CNR foaming agents expand just enough to create comfortable support from head to shoulders. The form molds precisely to the patient’s anatomy. The CNR works best when used with thermoplastic face masks.
It’s Easy to Make a CNR Form for Your Patient!
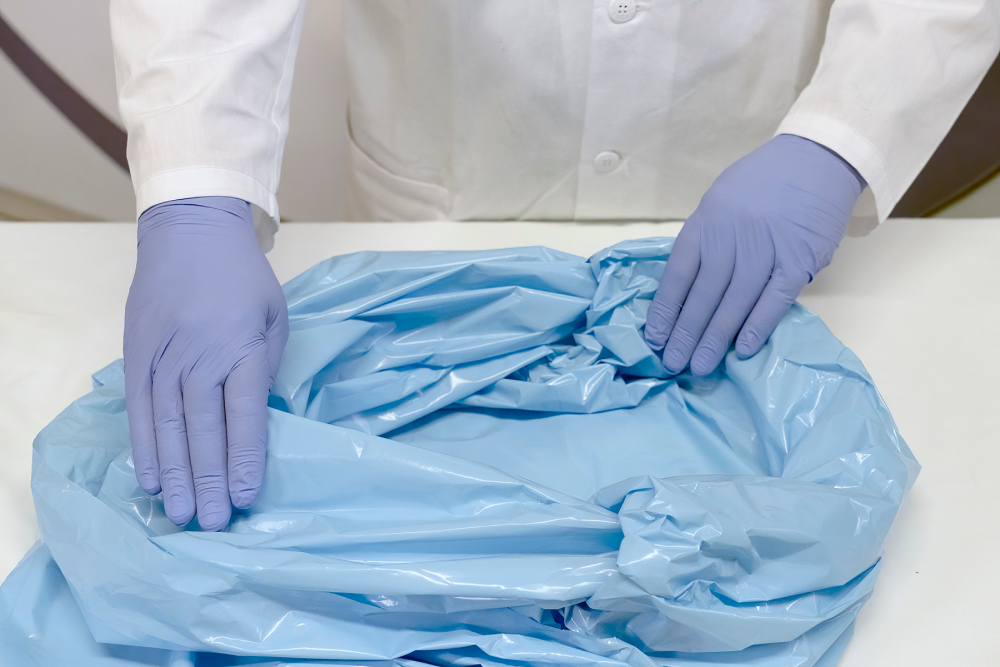
1. Snap the bag open, allowing air to circulate. Open bag wide so foam can be poured into the bottom of the bag.
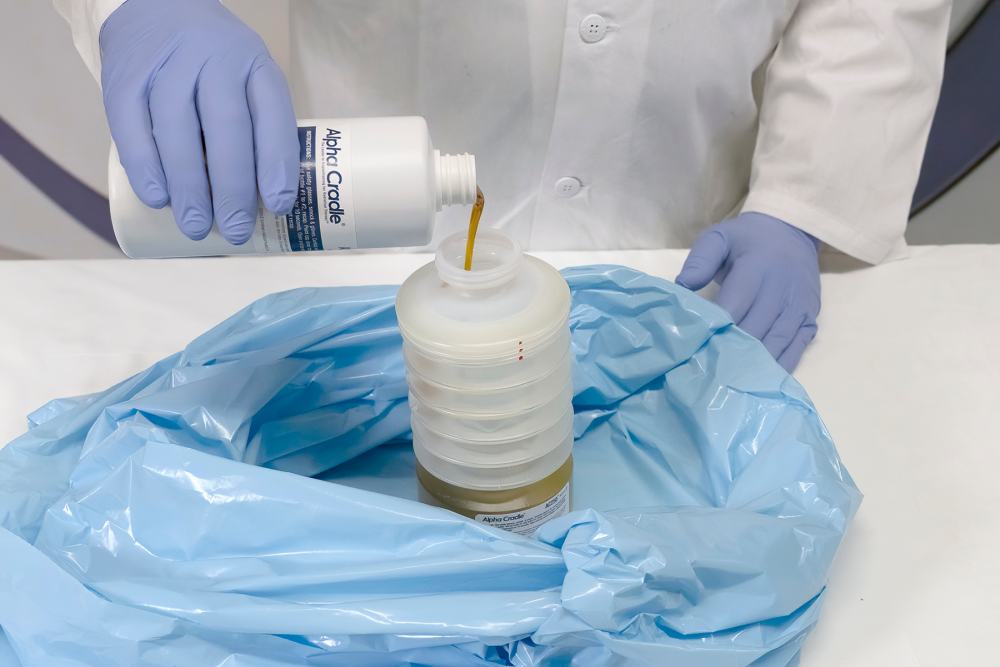
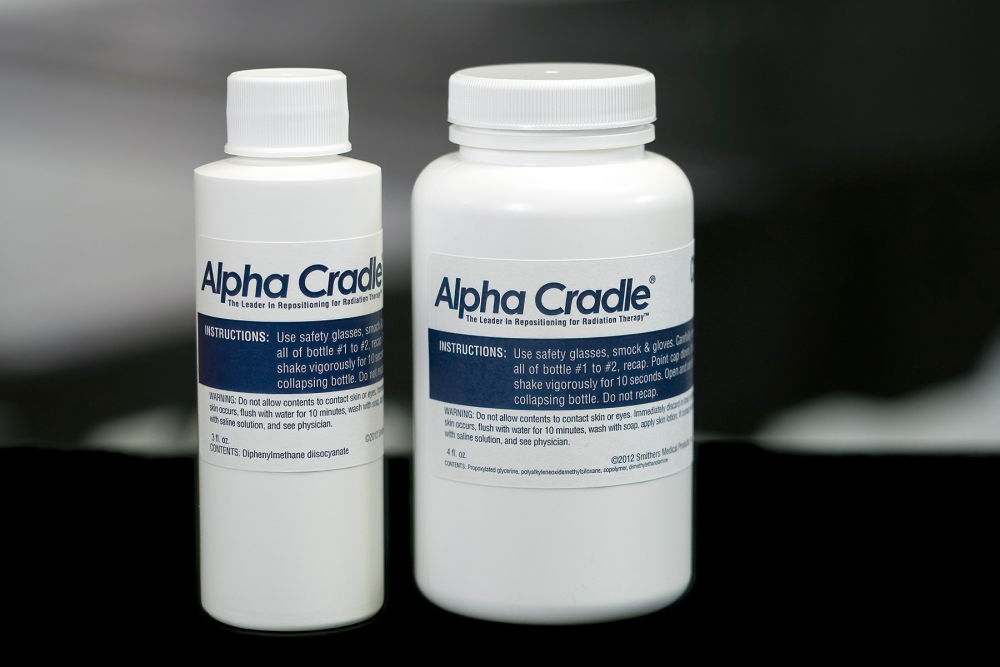
2. Carefully pour entire contents of bottle #1 into bottle #2, discarding the empty bottle into a leak-proof container.
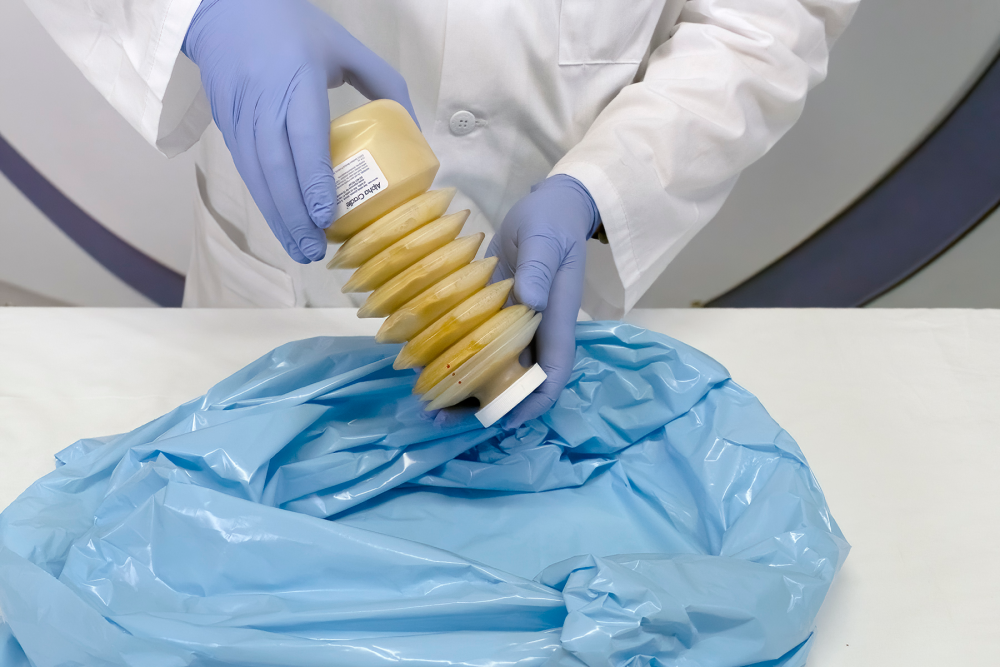
3. Securely recap bottle #2 and shake the mixture vigorously for 10 TIMED SECONDS ONLY.
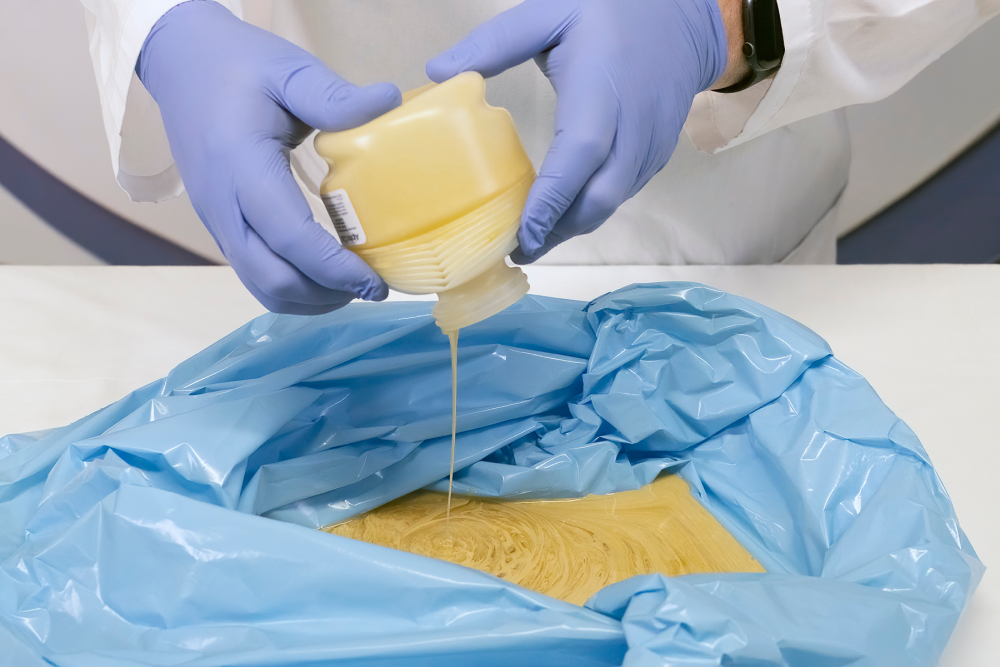 4. Remove the lid immediately and pour the entire contents into the bag, using all of the foam. DO NOT RECAP! Discard bottle into a leak-proof container.
 5. Remove as much air as possible from the bag, then fold open end of the bag underneath to desired length. Spread foam evenly throughout the bag. Wait until foam begins to rise. Place your patient onto the polyform bag.
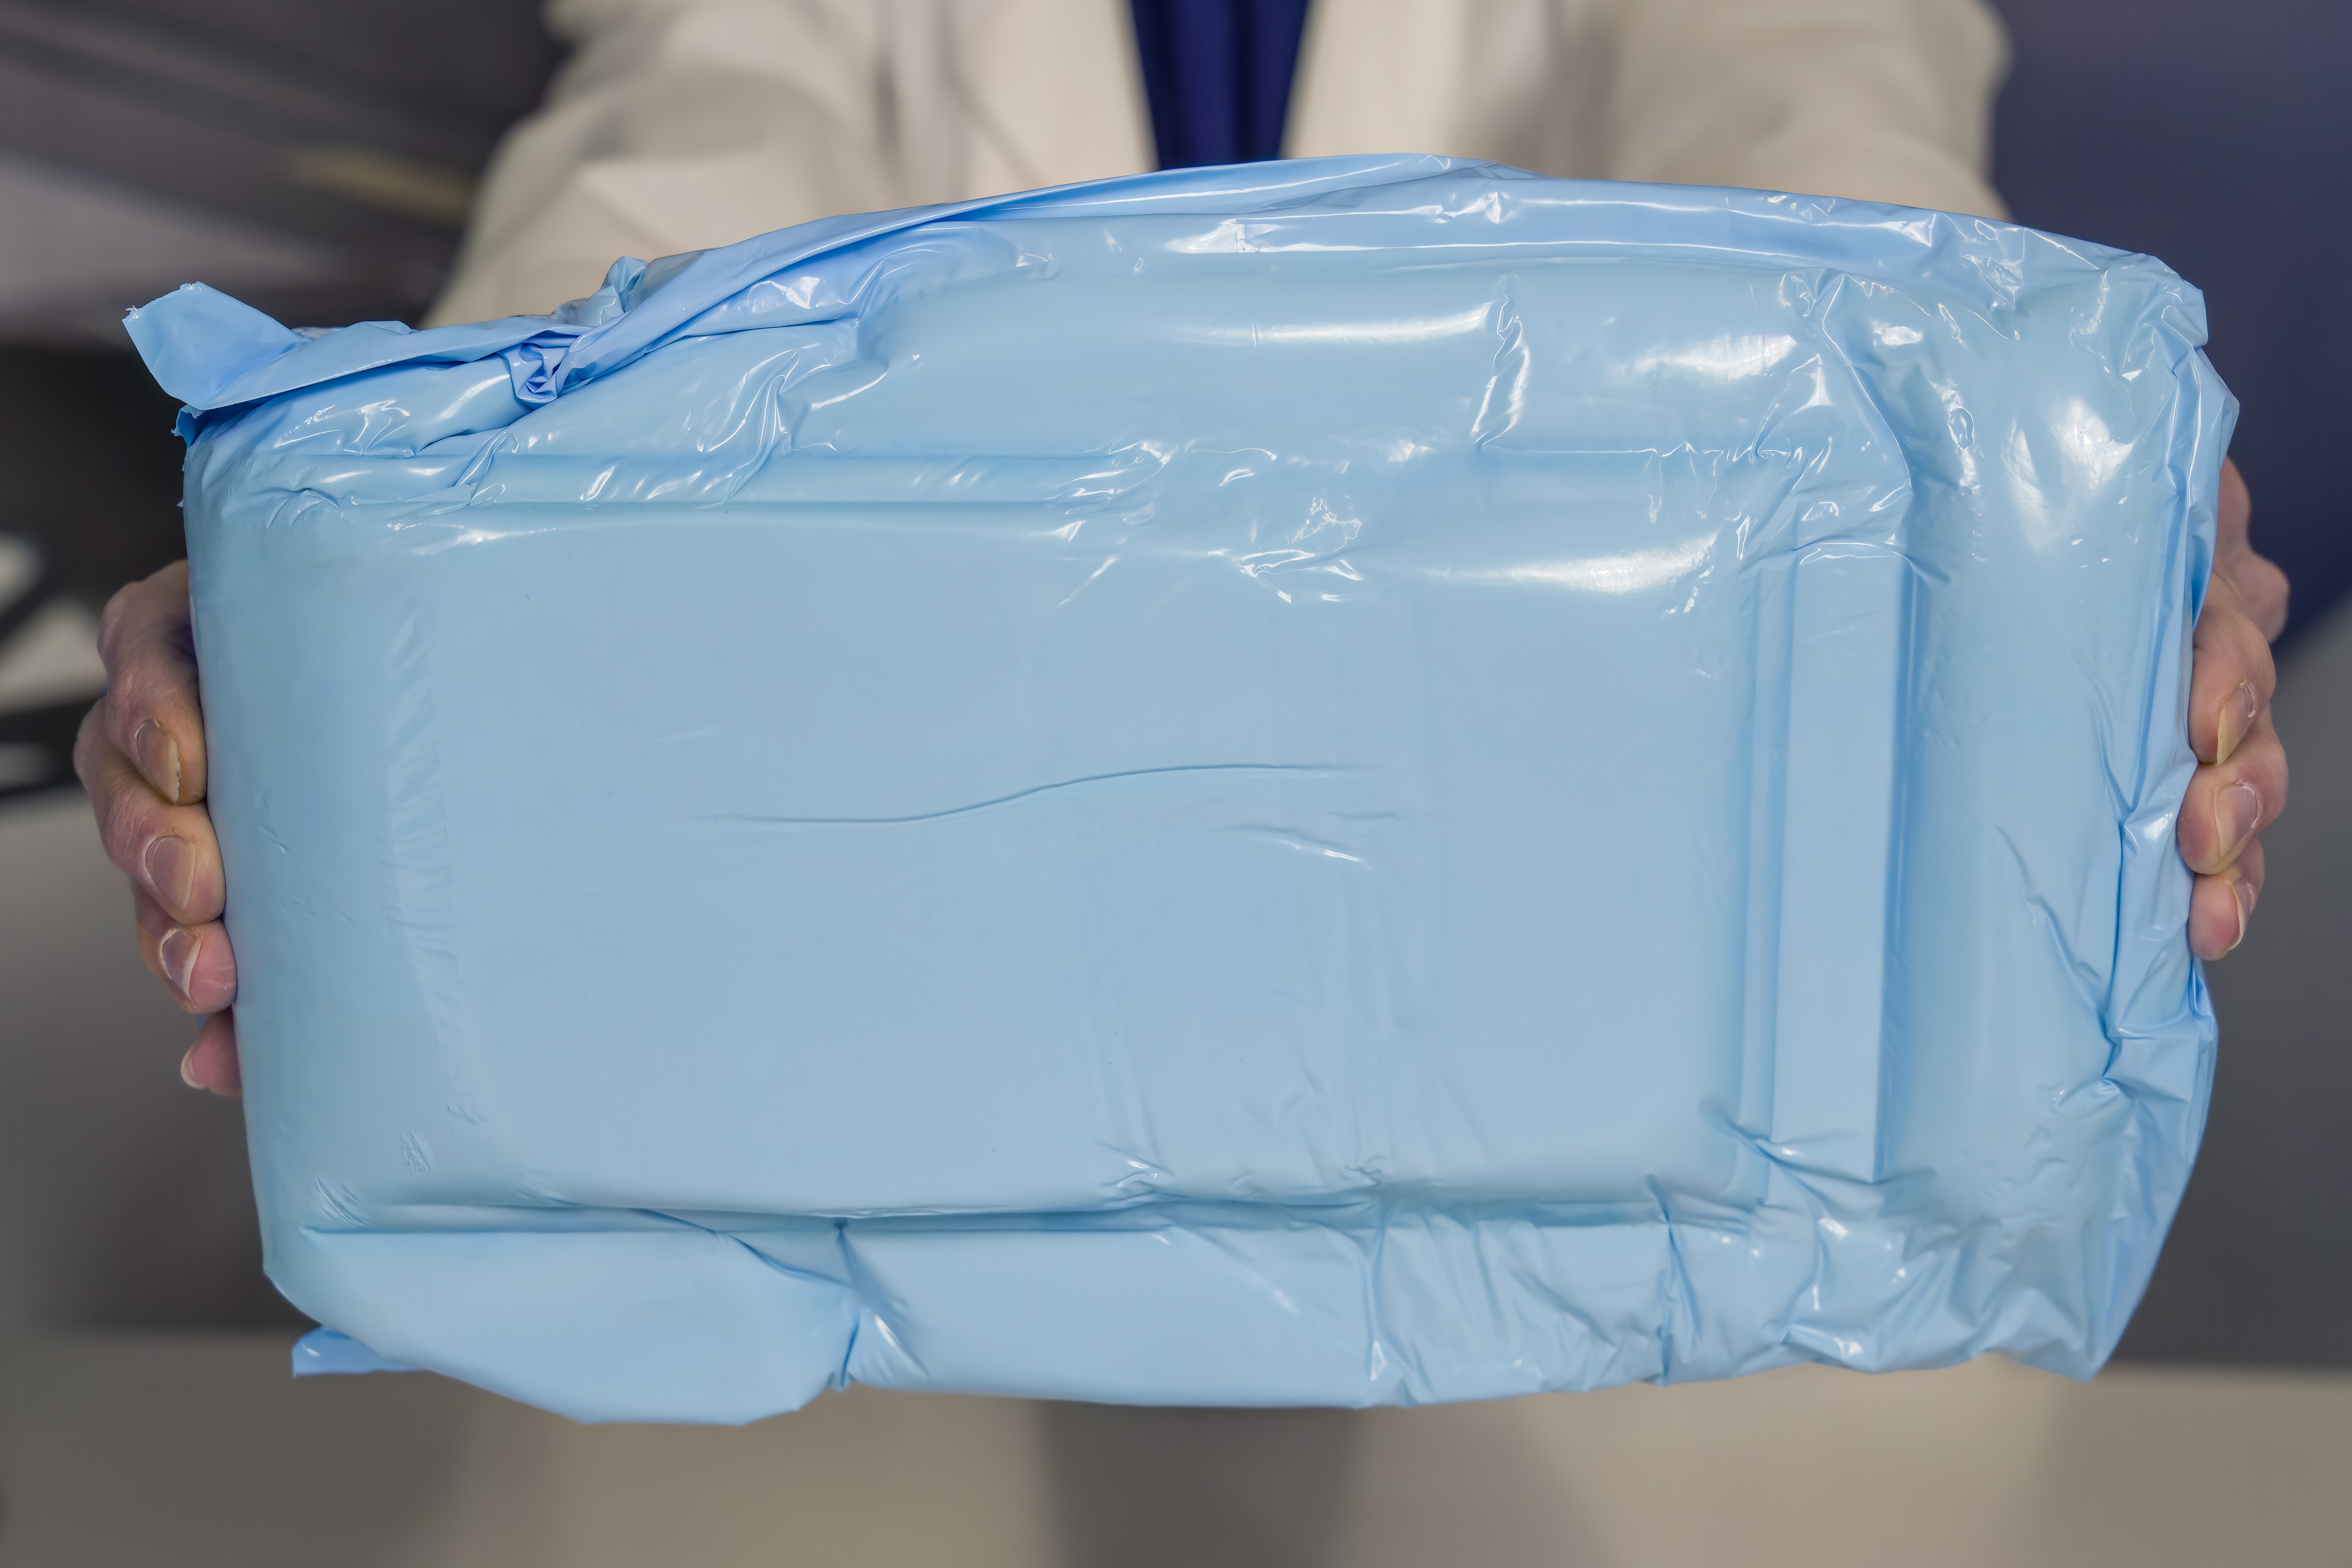 6. Within 15 minutes, the foam will rise and cool. Remove patient from form.
You now have a truly customized form to immobilize and reposition your patient.
ALPHA CRADLE® BRAND CNR HELPFUL HINTS
STRENGTHENING FORMS: After pouring the foam around the edges of the form and placing the form deep into the bag, remove as much air as you can before folding the excess bag underneath the form. Allow the foam to start to rise above the form, then push down, keeping the foam level with the form, forcing it tightly against the patient.
The form is useless unless you make a deep impression of the patient in the desired set-up position. This may mean putting pressure on top of the patient’s shoulders, keeping them deep in the form, allowing the foam to rise to the top of the form.
Foam that rises above the white form is useless foam. It is foam that can be diverted to another area where more foam may be needed or it can be used to make a tight fitting mold by pressing it down and holding it down for several minutes, until the form begins to cool.
CURING EACH MOLD: It is critical that the patient does not move for a full 15 minutes to allow the form to harden properly. As the form hardens, you can feel it cool to room temperature within 15 minutes from the starting point (depending upon temperature and atmospheric conditions in the room). Do not allow the patient to get up until the cradle is cool (room temperature) to the touch. If the area underneath the patient is still warm, allow it to cool and harden properly before use. This will result in a secure, comfortable tool to quickly reposition your patient each time they come in for treatment.
SPILLS: Prevent spills by following directions! If foam spills onto a hardened surface, immediately wipe off. Residues of the hardened foam can be cleaned with an acetone-based finger nail polish remover, or a product named Goof Off. If foam spills onto any type of carpet or fabric, DO NOT TOUCH UNTIL IT HAS COMPLETELY HARDENED; doing so will only push the foam into the fabric. After it has cured, try to peel it off the foam. Hair must be pulled out of the hardened foam or cut out. Use shower caps on patients!